Beef jerky is one of those snacks that seems simple on the surface. It’s just dried meat, right? So why does it cost so much? If you’ve ever stood in front of a convenience store snack rack or scrolled through online listings and balked at the price-per-ounce, you’re not alone. Jerky is expensive — sometimes outrageously so. So, why is beef jerky so expensive? A lot of the meat shrinks through dehydration, high-quality cuts of meat are required to make flavorful jerky and it’s a time-intensive process.
All of that being said, once you understand what goes into making high-quality jerky, the price tag starts to make a lot more sense. Better yet, if you’re a griller, DIYer, or just someone who enjoys real food, you’ll be thrilled to know that you can make incredible beef jerky at home for a fraction of the price.
Let’s dig into the real reasons behind the cost, the fascinating science of dehydration, traditional and modern jerky-making techniques, and a full guide to making your own jerky. We’ll wrap up with a robust FAQ so you walk away fully informed (and maybe a little hungry).
Why Is Beef Jerky So Expensive? Top Reasons Explained
Here are the main factors that drive up the cost of beef jerky:
1. Beef Shrinks by More Than Half During Drying
Jerky is a concentrated food. You lose up to 70% of the weight of the beef during dehydration. That means it takes 2.5 to 3 pounds of raw beef to make just 1 pound of jerky. The water weight evaporates, but you’re still paying for all the meat it took to get there.
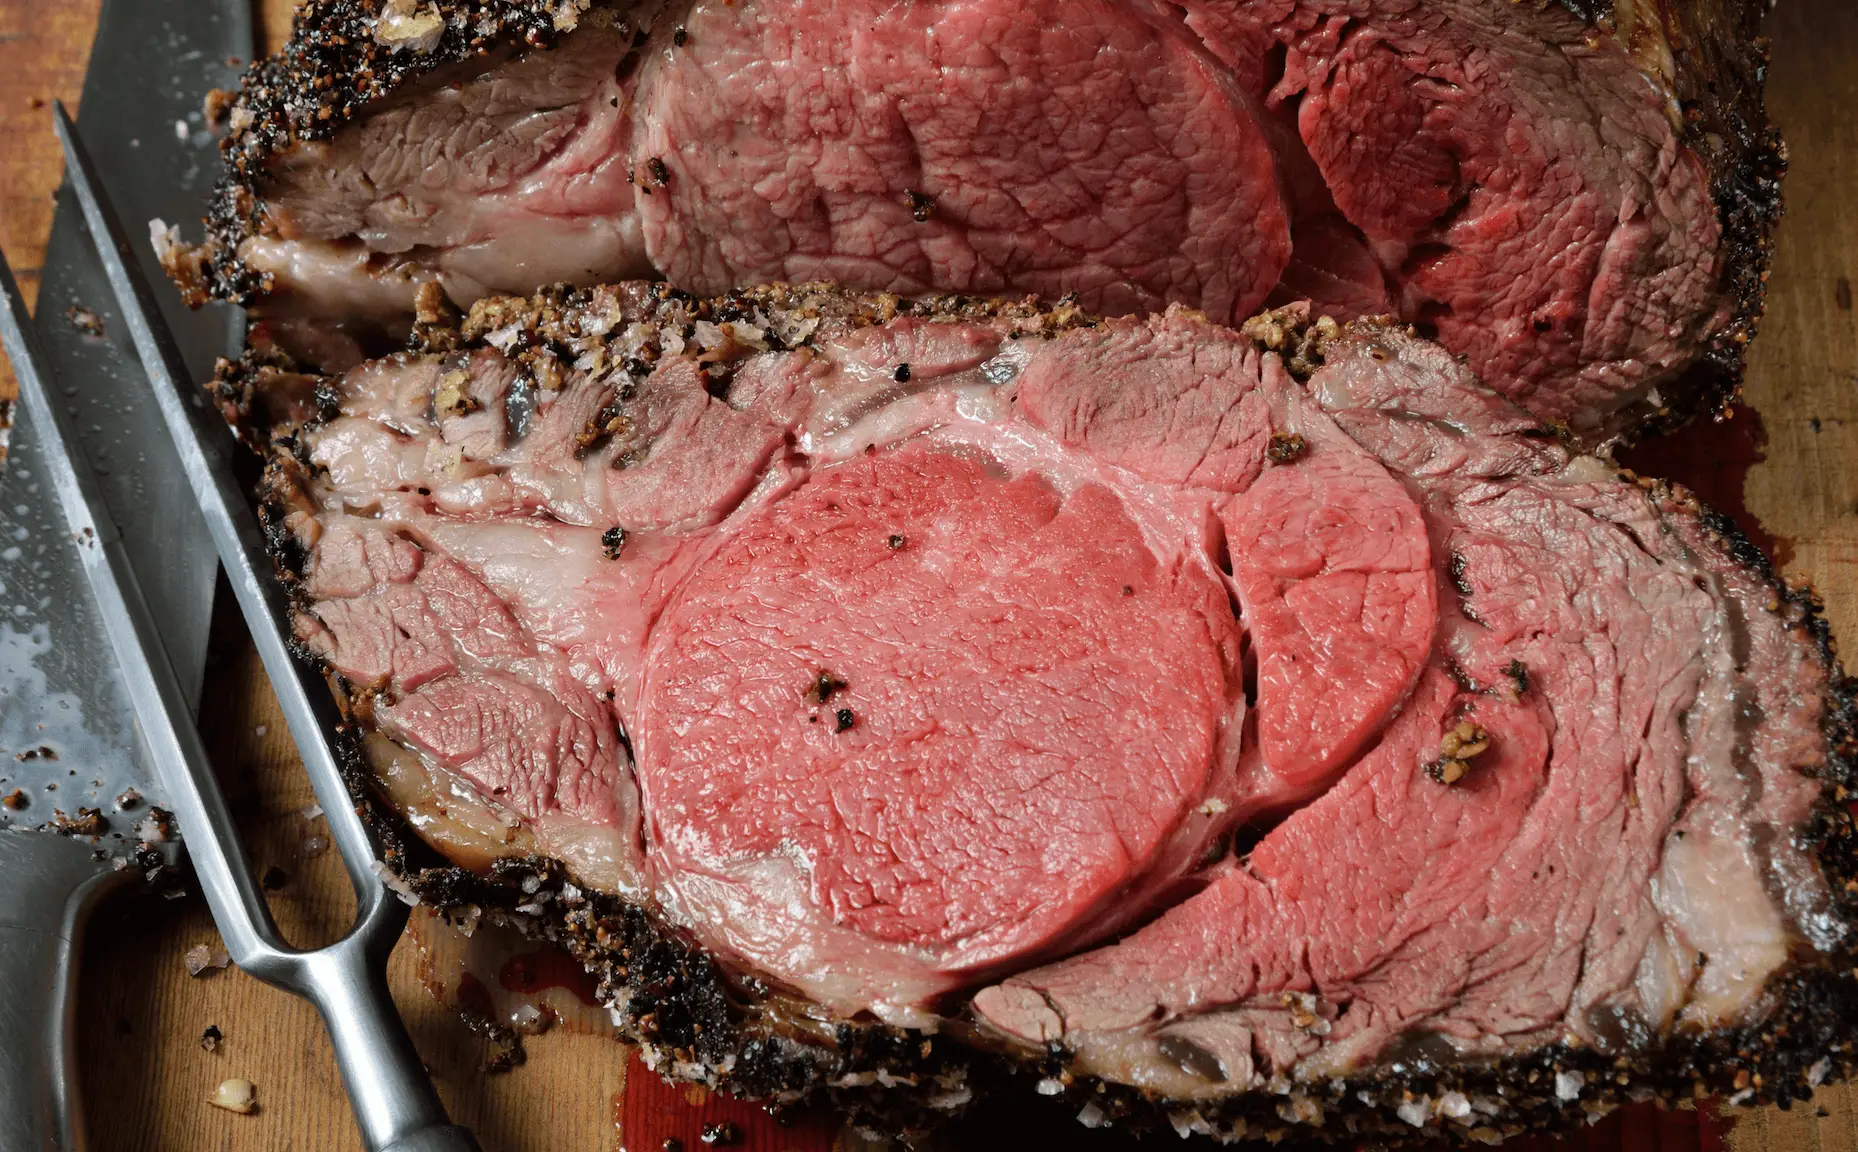
2. Lean, High-Quality Cuts Are Required
You can’t use fatty or marbled meat for jerky. Fat doesn’t dehydrate well and will go rancid over time. That means jerky makers are using lean cuts like eye of round, top round, bottom round, or sirloin tip. These aren’t the cheapest cuts, and they’re in high demand for other uses too.
3. Time-Intensive Process
Even with modern equipment, making jerky is labor-intensive. Slicing, trimming, marinating, arranging, drying, checking, testing, packaging — it all takes time and hands-on effort. Multiply that by hundreds or thousands of batches, and the labor costs add up fast.
4. Food Safety & Shelf Stability
To sell jerky commercially, producers must meet strict USDA and FDA requirements for moisture levels, bacteria control, and packaging. Jerky has to be shelf-stable while staying safe to eat for weeks or months. That means careful dehydration, consistent temperatures, and airtight packaging — all of which require specialized gear and oversight.
5. Retail Markups and Niche Positioning
Jerky is a specialty product. Whether it’s in a gas station or an artisanal snack shop, it usually comes with a premium markup. In many cases, it’s branded and marketed like craft beer or small-batch coffee. That makes it feel more exclusive—and more expensive.
6. Small Batch = Higher Cost per Unit
Unlike mass-produced snacks like chips or candy, jerky is often made in small batches. Whether it’s a small business or a premium brand, low production volume drives up the cost per bag. And because beef prices fluctuate, jerky makers are constantly adjusting to maintain margins.
The History and Science Behind Jerky
Jerky is nothing new. Cultures around the world have been drying meat for thousands of years as a way to preserve food for long journeys or lean seasons.
- Native American tribes made “pemmican” — dried meat mixed with fat and berries.
- Inca warriors carried dried llama meat.
- Biltong in South Africa, pastirma in Turkey, and charqui in South America all reflect different methods of meat preservation.
What Makes Jerky “Jerky”?
At its core, jerky is meat with the moisture removed. The process prevents spoilage and concentrates flavor.
The critical principle is water activity (aw) — a measure of available water for microbial growth. Bacteria thrive in moisture. Jerky is dried to a point where its water activity is below 0.75, making it safe to store without refrigeration.
Flavor Comes from More Than Just Drying
Marinades, smoke, spices, and cooking temps all play a role in jerky’s flavor and shelf life. The drying process isn’t just about removing water — it’s about building deep, intense flavor that lasts.
Jerky-Making Techniques (Traditional & Modern)
Whether you’re using a state-of-the-art dehydrator or sun-drying meat like our ancestors, the technique boils down to the same principles:
1. Air Drying
Used in arid regions or indoors with a strong breeze and low humidity. This method is ancient but less common today due to food safety risks unless you control the environment carefully.
2. Smoking
Low-and-slow smoking at 150–165°F imparts flavor and helps with dehydration. This is popular for jerky purists and BBQ lovers. Woods like hickory, mesquite, cherry, or oak bring distinct profiles.
3. Oven Drying
Most home cooks have access to an oven. Set it to the lowest temp (often 160°F), and crack the door to allow moisture to escape. It’s not as energy-efficient, but it works well for beginners.
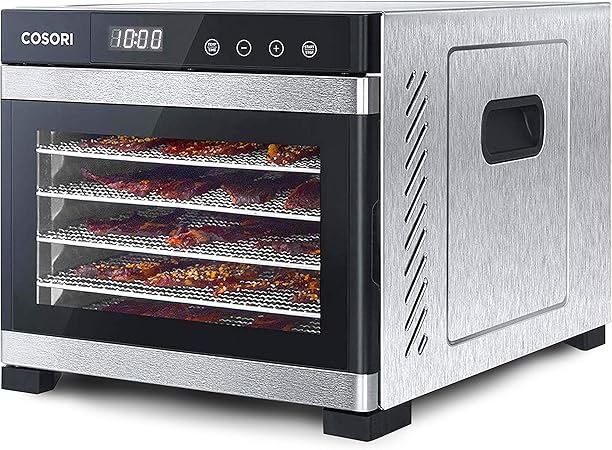
4. Dehydrators
Purpose-built for jerky. These use a fan and low, consistent heat. Many home dehydrators can run unattended for hours and allow you to process several trays at once.
|
Professional Grade

|
Best Multi-Tray

|
Highly Rated
|
|
Primary Rating:
4.5
|
Primary Rating:
4.4
|
Primary Rating:
4.6
|
5. Sous Vide + Dehydration
Some advanced hobbyists will pre-cook marinated meat to pasteurize it (via sous vide at 130-140°F for a few hours), then dehydrate for texture. This isn’t required, but adds a layer of safety and consistency.
Equipment Needed for Homemade Jerky
You don’t need to spend a fortune to make jerky at home, but a few tools make a big difference:
Basic Equipment:
- Sharp knife or meat slicer
- Cutting board
- Mixing bowl or gallon zip bags (for marinades)
- Wire rack and baking sheet (for oven drying)
- Paper towels (for blotting excess marinade)
Optional Upgrades:
- Dehydrator (recommended if you get serious)
- Smoker (for flavor and experimentation)
- Vacuum sealer (for long-term storage)
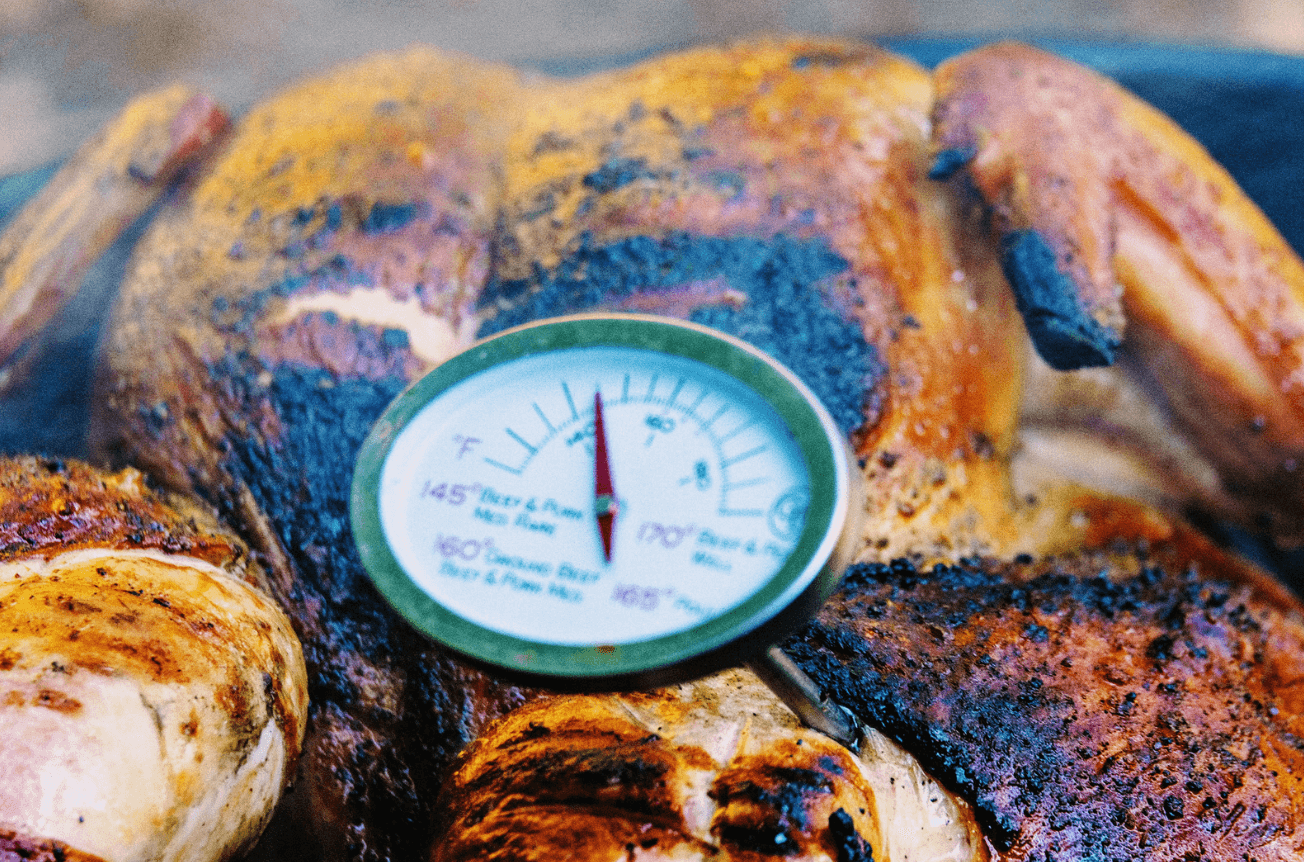
- Digital thermometer (to ensure food-safe temps)
- Jerky gun (for ground meat versions)
Step-by-Step: How to Make Beef Jerky at Home
Here’s your no-nonsense guide to making great jerky at home.
Step 1: Choose Your Cut
Look for lean, affordable cuts:
- Eye of Round (ideal balance of leanness and price)
- Top or Bottom Round
- Sirloin Tip
- London Broil
Trim all visible fat to reduce spoilage risk.
Step 2: Slice It Thin
- Slice 1/8” to 1/4” thick
- Slice against the grain for tender texture, with the grain for chewier jerky
- Partially freeze the meat first to make slicing easier
Step 3: Marinate
Create a marinade that balances salt, sweet, acid, and umami:
- Soy sauce, Worcestershire, vinegar, garlic, brown sugar, smoked paprika
- Marinate in fridge for 8 to 24 hours
Step 4: Dry
Depending on your method:
- Oven: 160°F, use a wire rack and crack the door open. Dry 4–8 hours.
- Dehydrator: 160°F, rotate trays halfway. Dry 4–10 hours depending on thickness.
- Smoker: 150–165°F with light smoke. Monitor closely.
Step 5: Test for Doneness
- Jerky should bend without snapping
- No visible moisture
- Texture should be leathery but pliable
Step 6: Store
- Cool to room temp
- Store in airtight bags
- Refrigerate or freeze if keeping for more than a week
- Use a vacuum sealer for maximum shelf life (3+ months in freezer)
Is Making Jerky at Home Worth It?
In a word: Yes.
- Store-bought jerky can cost $40 to $60 per pound
- Homemade jerky costs $10 to $15 per pound, depending on the meat
- You control flavor, spice, texture, salt content, and additives
- It’s a rewarding, hands-on cooking project with major snack payoffs
For BBQ lovers and grillheads, jerky is a natural extension of your skillset. You already understand meat, seasoning, and time. Jerky just adds preservation into the mix.
FAQ: Why is beef jerky so expensive?
What is the best cut of meat for homemade jerky?
Eye of round is the go-to. It’s lean, relatively affordable, and easy to slice. Top round and bottom round are great too.
Can I make jerky in the oven?
Absolutely. Set your oven to 160°F, crack the door open, and place strips on a wire rack. Flip halfway through and check texture every hour after the 4-hour mark.
How long does homemade jerky last?
- Pantry: 1–2 weeks
- Fridge: 3–4 weeks
- Freezer: 3–6 months
Vacuum sealing extends all of the above.
Do I need curing salt (like Prague Powder)?
Not for quick jerky that’s eaten within a week or refrigerated. If you want to make shelf-stable jerky, especially from ground meat, curing salt is a good idea for food safety.
Is homemade jerky safe?
Yes, if made properly. Always dry at 160°F+, trim all fat, and store in airtight containers.
Final Thoughts: Why is beef jerky so expensive?
Beef jerky isn’t overpriced — it’s understood too little. When you realize how much meat goes into each strip, how much time is invested, and how carefully it must be dried and handled, the price makes sense.
But the real kicker? You don’t have to keep shelling out for it. Making jerky at home is simple, satisfying, and lets you control every aspect of the final result. It’s one of the most rewarding meat projects you can take on as a griller, snack lover, or DIY food enthusiast.
Once you make a batch of smoky, spicy, perfectly chewy beef jerky yourself, you’ll never look at that $7 gas station bag the same way again.
Discover more from Own The Grill
Subscribe to get the latest posts sent to your email.