Grilled steak fajitas are the ultimate crowd-pleaser—easy to make, quick to prep, and perfect for everything from weeknight dinners to casual get-togethers. Whether you’re cooking for two or feeding a whole group, this recipe scales effortlessly and delivers big flavor every time.
They also make excellent leftovers, giving you a tasty, protein-packed option for lunch or dinner the next day. Best of all, everyone can build their own plate with their favorite toppings, making it a fun, interactive meal.
In this post, we’ll walk you through everything you need to know to make the best grilled steak fajitas at home—plus tips for prep, toppings, and serving ideas to level up your fajita night.

Which Type of Steak is Best for Fajitas?
This recipe is for grilled steak fajitas. “Steak” can mean a lot of things as there are quite a few different types of steak out there, and not all of them are well suited for fajitas.
Skirt steak is by far and away the most popular type of steak for fajitas. If you order steak fajitas at a restaurant, there is a 95% chance you’ll be served skirt steak. It’s a thin cut of meat that typically has nice fat content, is easy to handle and packs incredibly tasty beefy flavor.
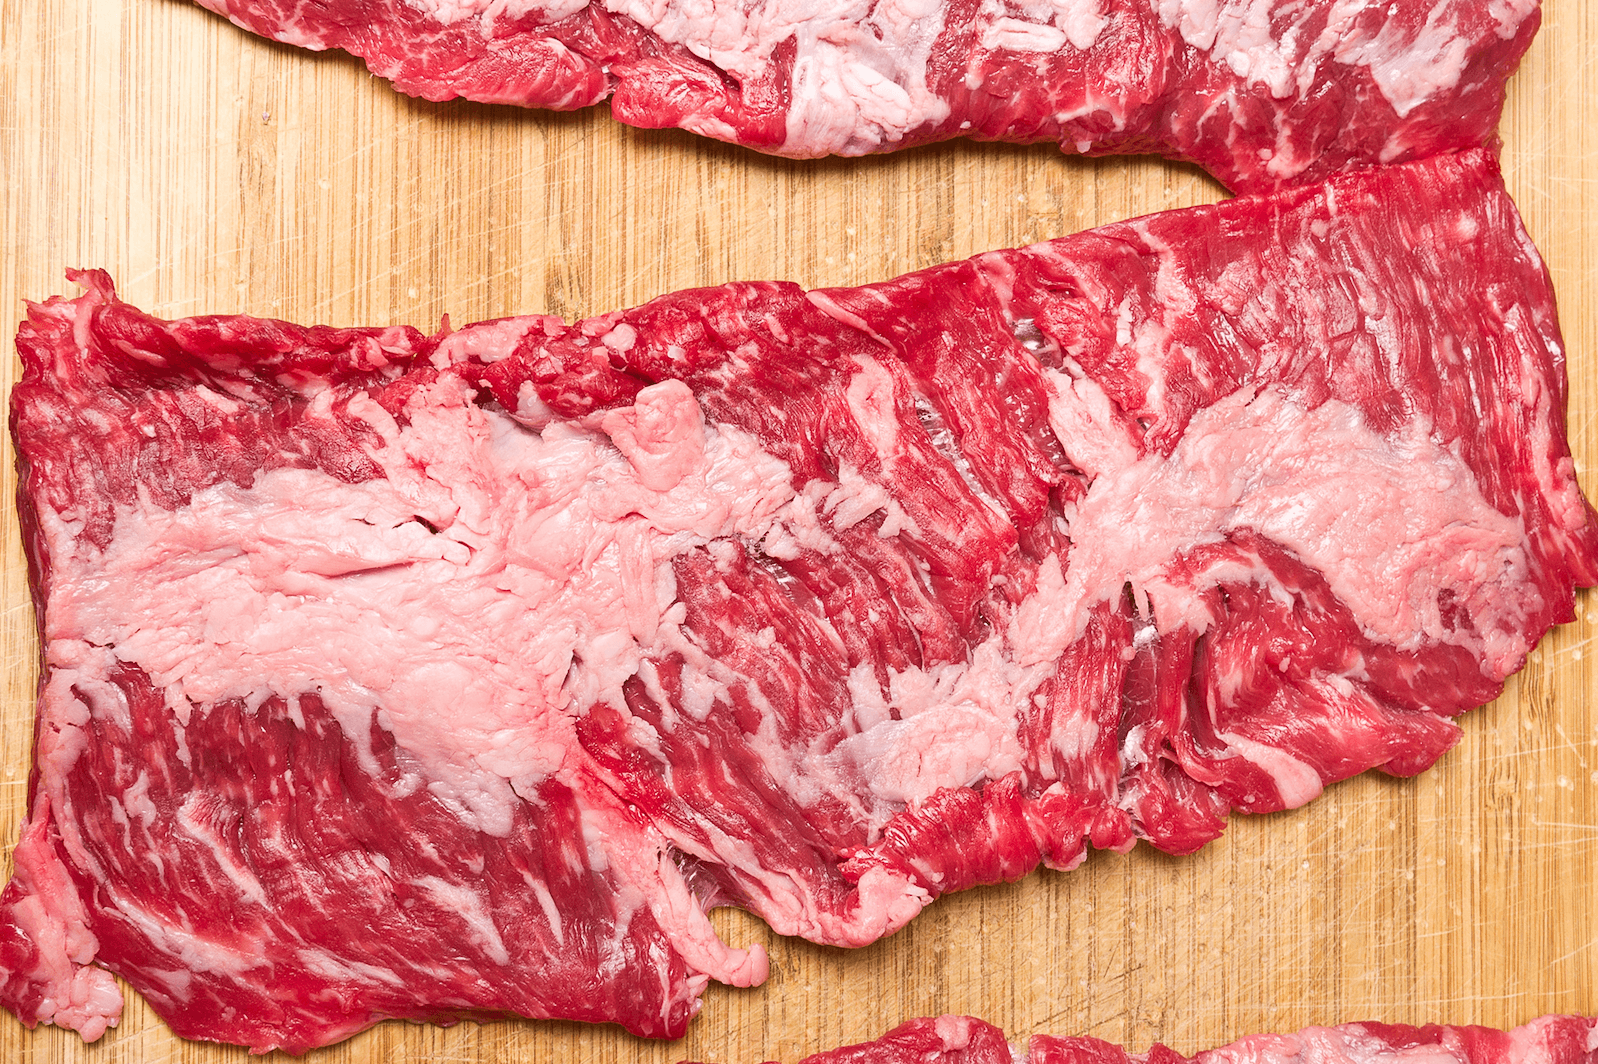
If you don’t have access to skirt steak, flank steak will also do the trick. I’ve made flank steak fajitas quite a few times and they turn out just as well as skirt steak. Since flank is a little bit thicker than skirt, flank can just take a little more babysitting on the grill to get it cooked perfectly.
These cuts are similar enough that we’ve actually written a guide on the differences between skirt and flank steak, so check that out if you want more on the topic.
How to Slice Fajitas
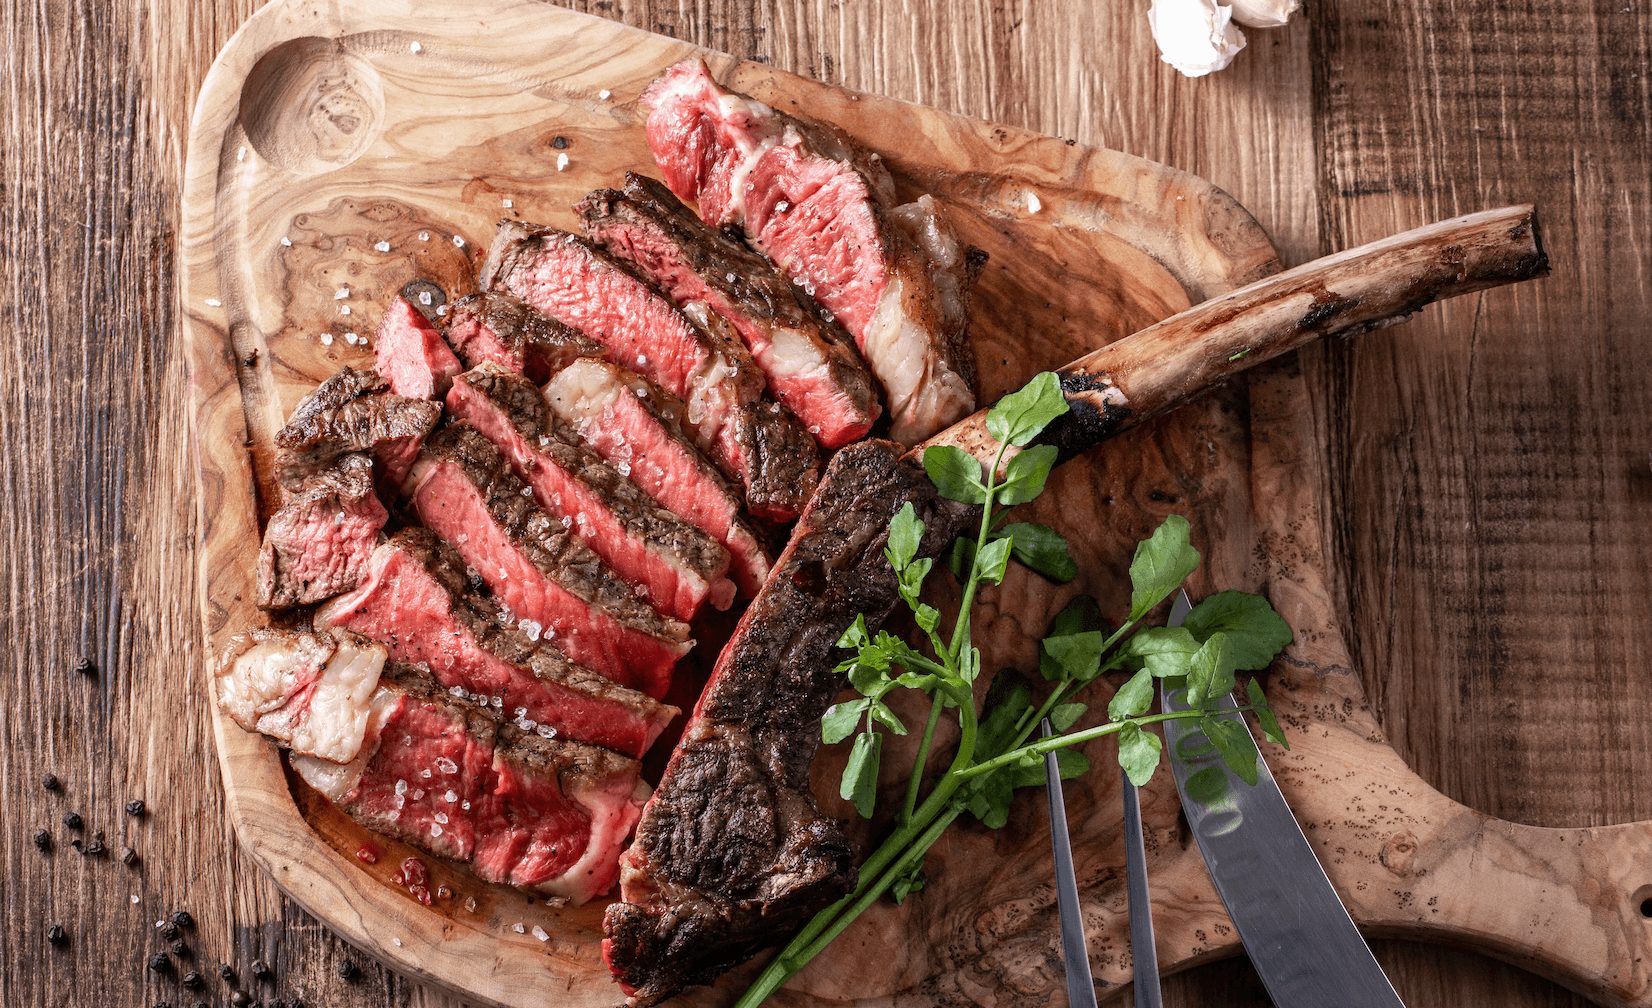
This is IMPORTANT! It may not sound like a big deal, but slicing fajitas the wrong way will diminish the end result by making your beef tough and chewy.
The key is to slice your fajitas against the grain. You want to slice across the long fibers that run down the length of the meat cut. Doing this will make your fajita bites way more tender compared to slicing with the grain.
After your meat is cooked and ready to slice, place it on a cutting board. I like to have my fajita pieces be about an inch and a half wide. Divide up your meat into inch and a half sections by slicing WITH the grain. Once you have all of your inch an a half wide rectangles of steak, next slice your pieces AGAINST the grain.
Tips for Perfect Grilled Steak Fajitas
When it comes to grilled steak fajitas, there’s plenty of room to make them your own—but a few pro tips can take your fajita night from solid to downright legendary. Whether you’re grilling for a crowd or prepping a quick weeknight meal, these tricks will help you lock in flavor, get the perfect texture, and elevate the whole experience.
Marinate Your Veggies (And Your Steak, Too)
Marinating your fajita ingredients infuses them with bold, zesty flavor that sets great fajitas apart from average ones. While you might already plan to marinate your steak (and you should—see our go-to fajita marinade below), don’t skip the veggies.
Start by thinly slicing bell peppers and onions, then toss them in a large resealable bag. Add olive oil, lime juice, a splash of soy sauce, and your favorite fajita seasoning. Seal tightly and shake to evenly coat everything, then refrigerate for at least 30 minutes—or overnight for the best results.
Grill Your Tortillas for That Flame-Kissed Flavor
While the steak is resting (more on that below), toss your tortillas onto the grill for 10–15 seconds per side. This simple move adds a subtle smokiness and a touch of crispness that takes your grilled steak fajitas to the next level.
We recommend using flour tortillas for a classic texture, or try authentic corn tortillas. Avoid microwaving—while quick, it often leads to chewy, rubbery results.
Skip the Store-Bought Seasoning Packets
Pre-made fajita seasoning can get the job done, but homemade is where the magic happens. Making your own gives you full control over the spice level, salt content, and flavor profile. You can adjust it to suit your guests—go bold with smoked paprika and cayenne, or keep it mild with cumin, garlic powder, and oregano.
Looking to save time? Stock up on a quality spice grinder like the Cuisanart SG-10 to make fresh blends on demand.
Always Use Fresh Vegetables
Fresh peppers and onions cook more evenly, stay crisp-tender, and deliver that signature fajita sizzle. Avoid limp or soggy vegetables that have been sitting in your fridge for days—they just won’t hold up on the grill or in a hot cast iron pan.
Pro tip: Slice your veggies lengthwise for those long, colorful strips that restaurants serve. It’s all about texture and presentation.
Use the Grill Whenever You Can
Fajitas are meant for the grill. The high heat gives your steak perfect sear marks and that signature smoky flavor you just can’t get from the oven. If you’ve got a grill basket, use it to char your veggies right alongside the meat for added depth. Grill baskets also simply help your veggies from falling through the cracks and creating a mess for you to clean up later; invest in your future happiness!
If grilling isn’t an option, a cast iron skillet is your next best bet. It holds heat incredibly well and helps mimic the searing power of a flame grill.
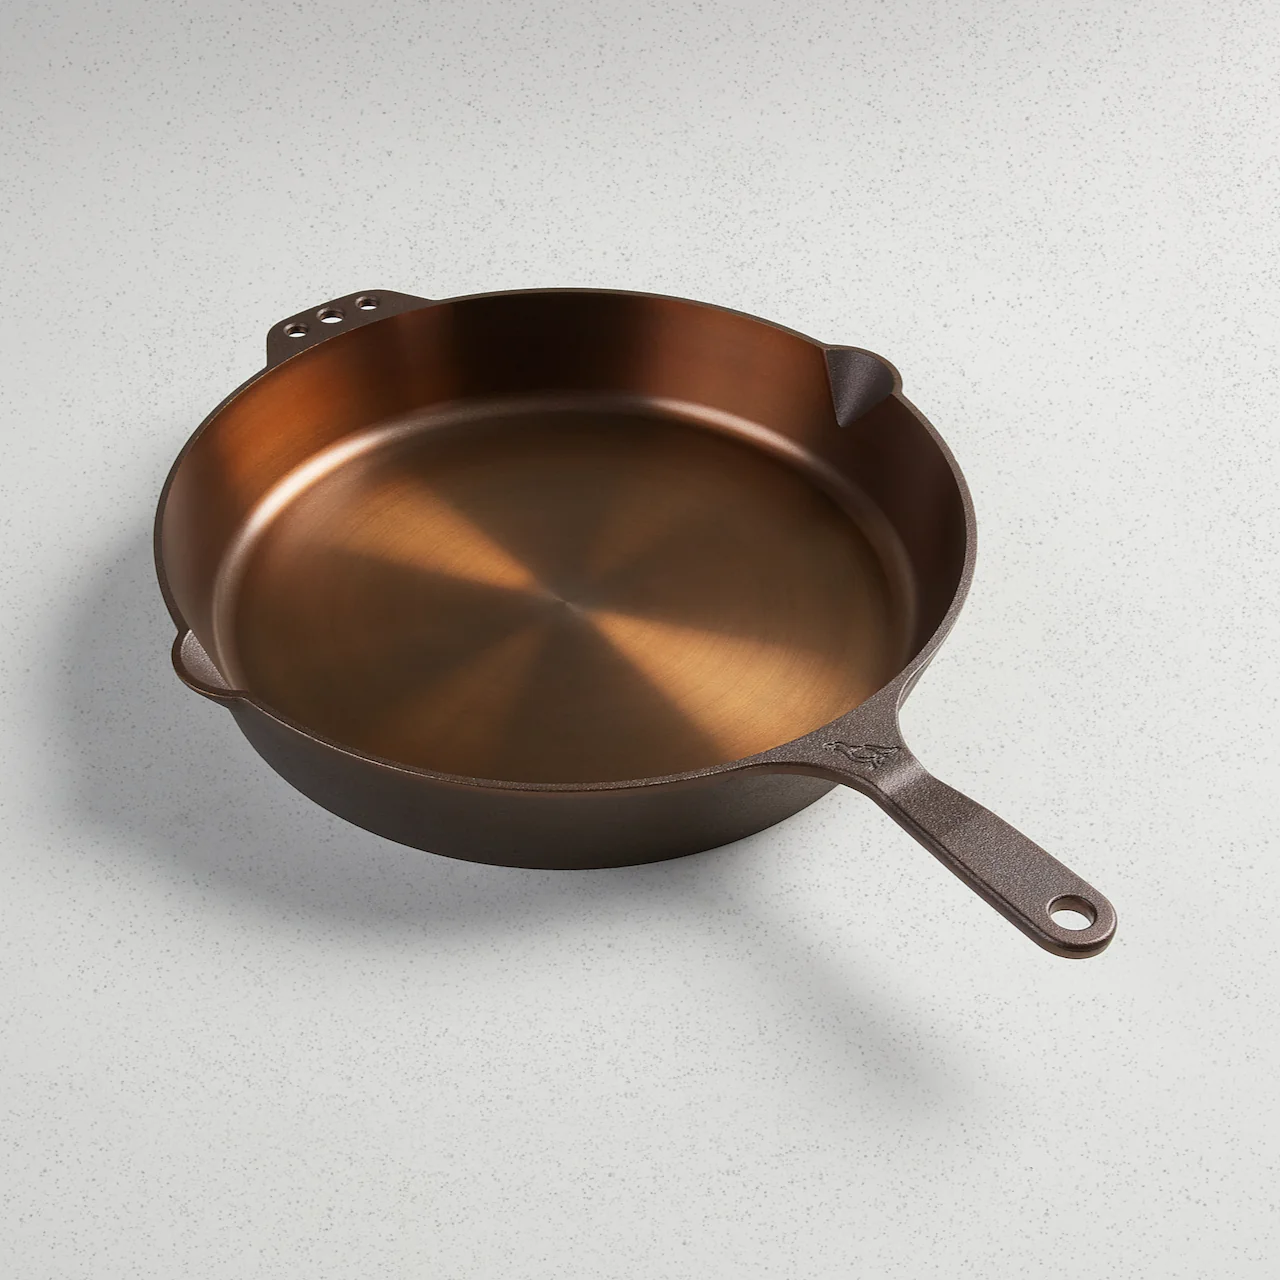
Satin-smooth, polished finish with a traditional handle. You can get it engraved, which makes a perfect gift.
Rest the Steak, Then Cook the Veggies
One of the most common mistakes? Slicing your steak too soon. Let your meat rest for 5–10 minutes after it comes off the grill to let the juices redistribute. During this time, toss your pre-marinated vegetables into a hot cast iron skillet with just a drizzle of olive oil (don’t overdo it—too much oil can make veggies soggy).
By the time your veggies are perfectly charred, your steak will be ready to slice against the grain for maximum tenderness.
Double Up with Chicken Fajitas
If you want to add variety, grilling up some chicken fajitas alongside your steak is a smart move—especially if you’re serving a crowd. Chicken cooks quickly and soaks up marinade beautifully. Use the same seasoning and grilling method for an easy flavor match.
Tip: Use an instant-read meat thermometer to make sure chicken hits the safe internal temperature of 165°F.
What to Serve with Grilled Steak Fajitas
Fajitas are a balanced meal on their own—with steak, veggies, and tortillas covering the protein, fiber, and carbs. But that doesn’t mean you can’t level up your spread with some Tex-Mex inspired sides and toppings.
Toppings bar ideas:
- Guacamole
- Sour cream
- Pico de gallo
- Shredded cheese (Cotija or cheddar)
- Fresh cilantro
- Lime wedges
- Jalapeños (fresh or pickled)
Side dish ideas:
- Chips and salsa or chile con queso
- Cilantro lime rice
- Refried or black beans
- Grilled street corn or esquites
- A fresh, crunchy slaw
For larger gatherings, we love setting everything up buffet-style so guests can build their own plate. It makes the meal interactive and keeps everyone happy—especially kids and picky eaters.
Grilled Steak Fajitas [& Garlic Butter]
Ingredients
- 1.5 lb skirt steak can substitute flank steak
- 8 flour tortillas can substitute corn
- 1 avocado sliced
- 1/2 cup green bell pepper julienned
- 1/2 cup yellow onion julienned
- Optional toppings: shredded cheese, salsa, guacamole, sour cream, sliced jalapeños
- lime wedges to garnish
Tex Mex Rub Ingredients
- 1/2 tbsp garlic powder
- 1/2 tbsp cumin
- 1/2 tbsp oregano
- 1/2 tbsp paprika
- 1/2 tbsp chili powder
- 1/2 tbsp kosher salt
Garlic Butter Ingredients (Optional)
- 4 tbsp butter
- 2 cloves garlic
Instructions
- Mix rub ingredients together in a small bowl. Coat the skirt steak with the rub mixture evenly and thoroughly
- (Optional) Let the seasoned beef rest at room temperature for about 30 minutes
- Preheat your grill to 400ºF
- Sear both sides of the beef on your grill, about 4 minutes per side
- After searing, move your beef to an elevated rack to finish cooking to desired doneness. (I like medium doneness on steak fajitas so I finish on the rack only for about 2 minutes)
- Remove beef from heat and allow to rest for 10 minutes before slicing
- Add onions and bell pepper to sauté pan with a splash of olive oil. Sauté veggies over medium heat for about 8 minutes or until they begin to soften
- In a small saucepan, melt butter and mince garlic into the butter after butter has liquified (you can also melt the butter in the microwave if you prefer)
- Alive the beef into thin slices, cutting against the grain
- Serve immediately on warm flour or corn tortillas. Add veggies and avocado slices
- Squeeze lime wedges over the steak and add garlic butter. Serve alongside optional toppings. Enjoy!
Final Thoughts
Grilled steak fajitas are a great meal for when you have guests or family over. It doesn’t take long to prep or cook, which means you can easily throw this meal together if you’re in a crunch for time. Make sure to follow all the tips and advice above to ensure that your fajitas stay flavorful and moist from grill to table.
Discover more from Own The Grill
Subscribe to get the latest posts sent to your email.