When it comes to a good old fashioned BBQ cookout, a plate of pulled pork is likely to make an appearance on the serving table.
But after the pork comes off of the smoker and before it gets to your plate, there’s a key step that you want to get right – pulling the pork itself.
It might sound simple, and it is, but it’s definitely a key step in the process of delivering delicious and beautiful looking BBQ. There are a few different ways you can go about it too, and you can expect to learn about all of them in this article.
Read on to see our complete guide on how to pull pork – we’ll go over all of the different methods. Everything from the traditional methods to the less common – yet effective methods will be covered here!
Pulled Pork – Quick Overview
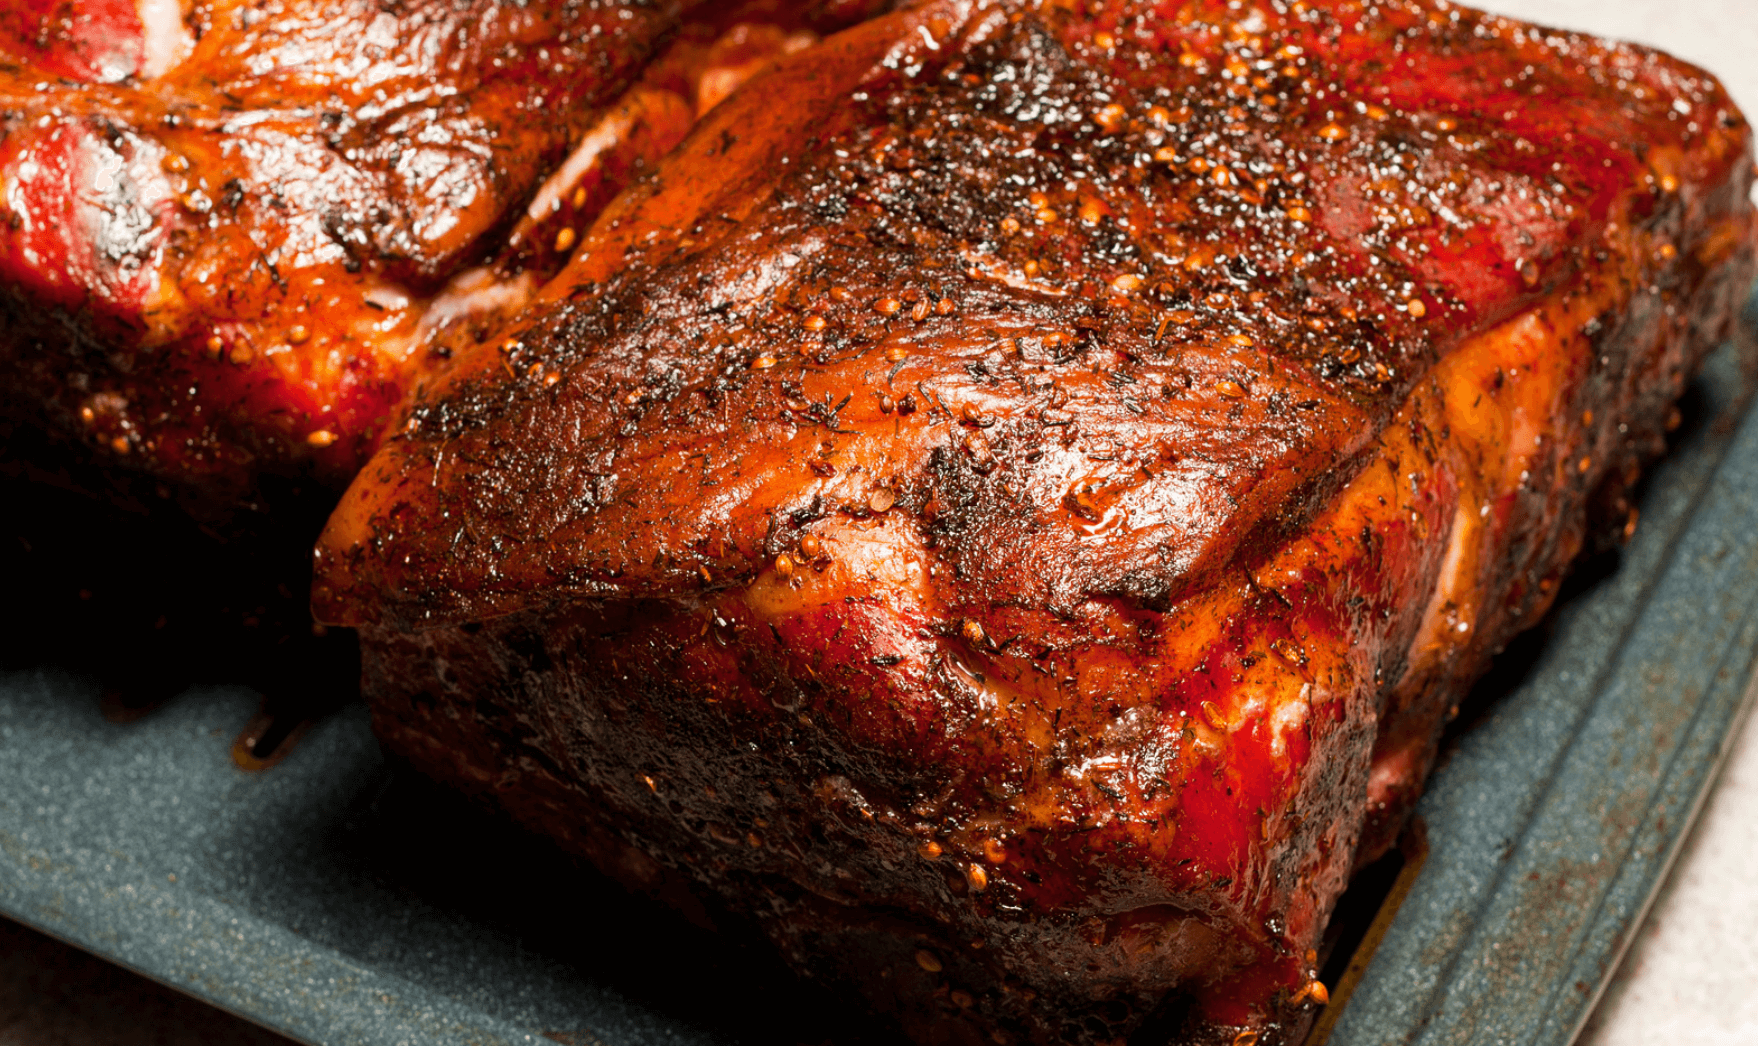
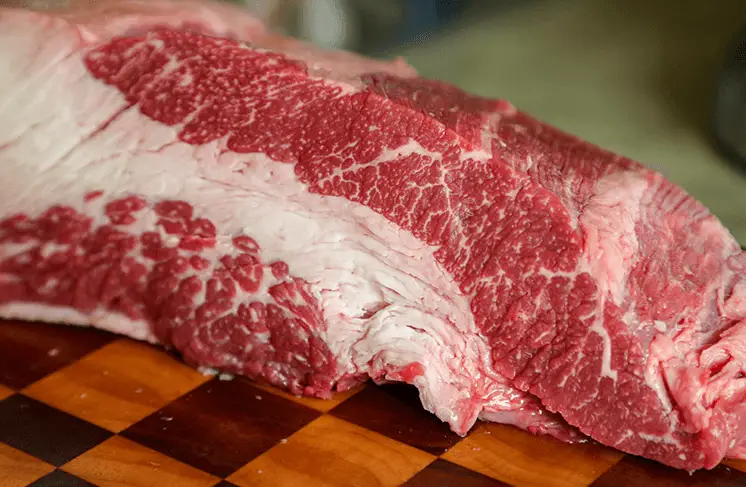
Pulled pork most often starts out as a large hunk of pork shoulder or pork butt, although you can technically make pulled pork with other cuts too, like the tenderloin.
Your large cut of pork is typically brined, then the outside is rubbed generously with a BBQ rub to add flavor and seasoning. Next, it goes on the smoker for a few hours to cook low and slow. With time, the pork becomes more flavorful and more tender – by the time it’s ready to come off the smoker, it could practically fall apart to the touch it’s so tender.
I’m biased, but I think a smoker is the best place to cook pulled pork – that way you can get some wood fired flavor into your food for that traditional BBQ taste. If you don’t own a smoker however, you can definitely make pulled pork via other methods. You can make it in the oven, in a slow cooker or instapot, or even in a dutch oven on your stove top too.
After the pork is cooked through and nice and tender, it’s time to pull it while it’s still warm.
Before You Start Pulling Pork
One of the secrets for how to pull pork the best way is to do it while the meat is still hot.
The reason? As the pork cools down, it becomes harder to pull because all of the fat and connective tissues that have softened during the cooking process will begin to harden. Pulling the pork becomes much more difficult when the meat toughens up.
So with that in mind, it’s ideal to begin pulling pork almost immediately after it has finished cooking. When you do this, the fat will easily drain away and the pork meat will easily and naturally fall apart into little strings – leaving you with a bowl full of delicious pulled pork.
When the pork comes off of the smoker it’s going to be pretty hot – close to 200°F internally in fact. Safety is an easy step to overlook in the process, but you’ll want to make sure you have a couple of pieces of equipment on hand to help get the job done safely:
- BBQ gloves, kitchen gloves, or any other heat resistant gloves. A good pair of heat resistant gloves will allow for you to safely handle the pork while you pull it.
- A large aluminum foil pan, or a cutting board with a moat around it. The idea here is to contain the drippings and juices that come out of the pork once it’s pulled. The juices will also be hot, so you especially don’t want them spilling all over your counter in a mess. You’ll also want to keep the drippings in case you have leftover pulled pork, but more on that later.

How to Pull Pork – Different Methods
Here are all of the most popular and effective ways for how to pull pork:
Two Forks
Probably the most common method of pulling pork is by utilizing two forks – which all of us can find in the kitchen. No special equipment required!
With your two forks, you simply work them into the pork next to each other, then pull them slowly and firmly away from one another. Depending on the consistency of your pork, it might work out better if you hold one fork steady while you pull the pork with the other fork.
The goal is to have an end result of somewhat uniform, thin fibers of meat. With the two fork method it’s common to take off large chunks at a time – it’s ok if that happens. Just take the time to work the large chunk down into smaller fibers before working back to the main hunk of meat.
Meat Claws
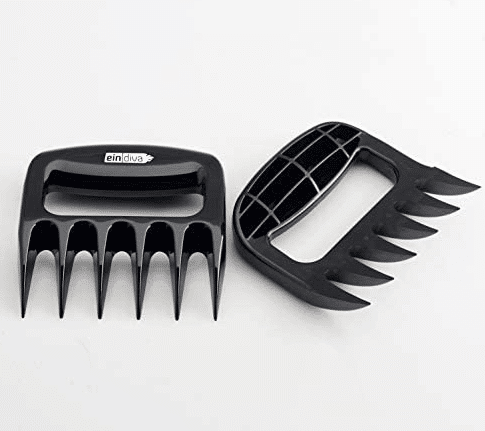
If you want to make your pulled pork operation a little easier, a set of meat claws is probably a good investment – and they’re pretty cheap to pick up!
Essentially, using meat claws for pulled pork is really similar to using two forks, but the claws are specifically designed for the task. They’re definitely more efficient than forks thanks to ergonomic handles and optimally designed tips.
Most meat claws on the market are BPA free plastic and heat resistant up to 400°F or more, depending on the brand. That makes them ideal for pulled pork, and even other tasks such as transporting roasts or other large pieces of meat.
By Hand (The Old Fashioned Way)
If you like to put a little bit of figurative elbow grease into your process, or if all of your forks are dirty, you can pull pork by hand.
Of course, you’ll want to 100% make sure you have heat resistant gloves on, otherwise you’ll definitely burn your hands.
This method is straightforward – just get your hands in there and begin pulling the fibers apart with your fingers.
Stand Mixer
If you have a Kitchen Aid mixer or a similar style of stand mixer on your kitchen, you can use it to pull pork extremely efficiently.
Use a stainless steel bowl and a flat beater attachment (ideally stainless steel but plastic works too). Cut your pork into manageable chunks that will fit into the stand mixer bowl, then remove any bones.
From there, all you have to do is turn the mixer on low for a few seconds and before you know it you’ll be left with perfectly pulled pork.
Pork Puller Drill Bits
Believe it or not, there are actually drill bits for pulled pork that you can attach to your drill. These things are the real deal, and can get your pork pulled in no time.
For a small family gathering, they might be a little bit of overkill – but they’re great for large gatherings or if you have to pull multiple pork shoulders at once.
A word of advice: make sure you use a pork puller drill bit in tandem with a deep bowl or pot, because things can get messy otherwise. I promise you don’t want these drill bits slinging pork and juices all over your kitchen!

How to Pull Pork – Step by Step
Just to recap, the steps from start to finish for how to pull pork go like this:
- Smoke your pork shoulder (or slow cook it via another method).
- While your pork is still hot, grab your heat resistant gloves and use either forks, claws, stand mixer, or drill bit to pull the pork.
- Transfer the pulled pork strands to a bowl or container. Be sure to save the juices and drippings to combine with the pulled pork.
- Serve and enjoy!
Tips for Getting the Most Out of Your Pulled Pork
Now that you know how to pull pork, it’s time to go over a couple of tips to help make sure your BBQ feast is as tasty as it can possibly be.
The key with pulled pork is to maintain moisture levels in the food. If you do a good job collecting your drippings in your pan, you can use these to douse your meat to keep it moist before it’s served. If you accidentally disposed of your drippings, you can also use apple juice, broth, or even a spritz of water to help keep moisture levels ideal.
Pulled pork is excellent on its own, but it’s commonly served with BBQ sauce, coleslaw, pickles, sliced onion, and potato salad, amongst other things. Pulled pork is also delectable in between some bread for a pulled pork sandwich.
And unless you made the perfect amount of pulled pork per person, odds are you’re going to have some leftovers. Be sure to keep any additional pan drippings to help keep your pork moist while it’s in storage. Read our guide to reheating pulled pork next if you want some more tips for how to properly store and reheat your delicious BBQ!
“Pulled” vs “Shredded” Meat
In most parts of the country, the terms “pulled” and “shredded” are used somewhat interchangeably. When used in the context of BBQ, both of these terms are referring to a process where a cooked meat is broken down into fibers and strands. In practice, I don’t know of any difference between “shredding” pork vs “pulling” it.
This technique isn’t limited to just pork either! You can try your hand at pulling (or shredding) other meats like beef, chicken, or turkey. Transforming any of these BBQ style meats into bundles of strands makes them perfect for family style serving, or to place on a sandwich.
Pulling It All Together
If you came to this article looking for ideas on how to pull pork, I hope you found at least a couple of methods to help you get the job done. It’s not rocket science, but knowing what to do can be the difference between a total mess and an efficient pork pulling operation.
Pulled pork is a BBQ staple and easily one of the best foods to smoke for your next cookout – whether you’re a total beginner or an expert who’s chasing after that legendary BBQ bark.
Have any other methods for how to pull pork that aren’t in this article? We’d love to hear about them in the comments section below.
Discover more from Own The Grill
Subscribe to get the latest posts sent to your email.